

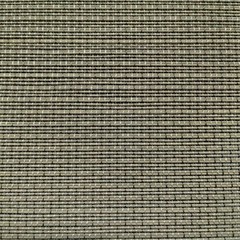
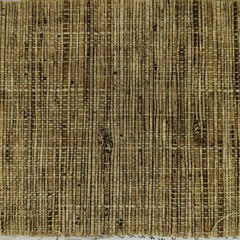
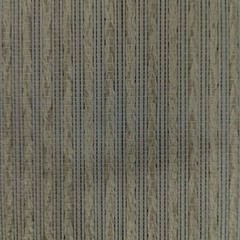
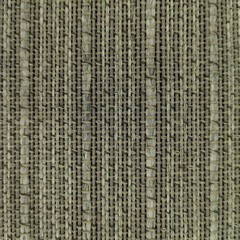
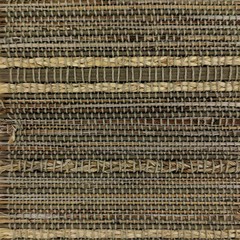
Hey there! I'm a supplier of Paper Roller Blind Rolls, and today I'm gonna walk you through the process of installing a paper roller blind roll on a wooden window frame. It might seem a bit tricky at first, but it's actually quite doable with the right steps and a bit of patience.
Step 1: Gather Your Materials
Before you start the installation, you need to make sure you have all the necessary materials. You'll need your paper roller blind roll, of course. You can find a wide variety of Material for Roller Blinds on our website. You'll also need a drill, screws, a measuring tape, a level, and a pencil. If you want to block out more light, you can consider using Blockout Blind Fabric.
Step 2: Measure Your Window
Accurate measurements are crucial for a proper fit. Use your measuring tape to measure the width and height of your wooden window frame. Measure the width at the top, middle, and bottom of the window, and use the smallest measurement. For the height, measure from the top of the window frame to the sill. Make sure to write down these measurements so you don't forget.
Step 3: Prepare Your Blind
Once you have your measurements, it's time to prepare your paper roller blind roll. If the blind is too wide, you can use a sharp utility knife to trim it to the correct width. Be careful when cutting to ensure a straight edge. If it's too long, you can also trim the bottom of the blind.
Step 4: Mark the Mounting Points
Use your pencil and level to mark the mounting points on the wooden window frame. The mounting brackets that come with your blind will usually have holes for screws. Align the brackets with the top of the window frame and mark the screw holes on the wood. Make sure the brackets are level to ensure the blind hangs straight.
Step 5: Drill the Holes
Now it's time to drill the holes for the screws. Use a drill bit that's slightly smaller than the screws you'll be using. Drill the holes at the marked points on the wooden window frame. Be careful not to drill too deep or you might damage the frame.
Step 6: Install the Mounting Brackets
Once the holes are drilled, you can install the mounting brackets. Insert the screws into the holes and tighten them with a screwdriver. Make sure the brackets are securely attached to the window frame.
Step 7: Attach the Blind to the Brackets
Now that the brackets are in place, it's time to attach the paper roller blind roll to the brackets. Most blinds come with a tube that fits into the brackets. Slide the tube into the brackets on each side of the window frame. Make sure the blind is level and hangs straight.


Step 8: Test the Blind
Once the blind is attached, test it to make sure it rolls up and down smoothly. If it doesn't, you might need to adjust the brackets or the tube. You can also check to see if the blind blocks out the light as you want it to. If you're using Paper Roll Up Window Shades, they should provide a good amount of privacy and light control.
Step 9: Make Any Necessary Adjustments
If the blind isn't rolling up or down smoothly, or if it's not level, you can make some adjustments. You can loosen the screws on the brackets and reposition them to make the blind hang straight. You can also check the tension of the blind and adjust it if needed.
Step 10: Enjoy Your New Blind
Once you're satisfied with the installation, you can sit back and enjoy your new paper roller blind roll. It will not only add a touch of style to your window but also provide privacy and light control.
If you're interested in purchasing our Paper Roller Blind Rolls or have any questions about the installation process, feel free to reach out to us. We're here to help you with all your blind needs. Whether you're looking for a simple and affordable solution or a more high-end option, we have a wide range of products to choose from.
References
- General knowledge about window blind installation
- Experience as a Paper Roller Blind Roll supplier