

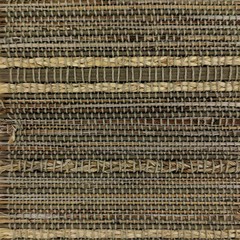
Installing a roll of blind fabric on a large window can seem like a daunting task, but with the right guidance and products, it can be a relatively straightforward process. As a supplier of Roll Of Blind Fabric, I've helped many customers transform their windows with our high - quality materials. In this blog, I'll walk you through the steps of installing a roll of blind fabric on a large window.
Step 1: Measure Your Window
The first and most crucial step is to measure your window accurately. For a large window, precision is key. Measure the width and height of the window opening. It's advisable to measure at multiple points along the width and height to account for any irregularities in the window frame. Remember to measure from the inside edge of the window frame for an inside - mount blind or from the outside if you plan for an outside - mount.


Once you have your measurements, add a few extra inches to the width to ensure full coverage. For the height, if you're going for a drop - down blind, measure from the top of the window frame to where you want the blind to end. This will give you the dimensions you need to order the correct amount of Roll Of Blind Fabric.
Step 2: Choose the Right Blind Fabric
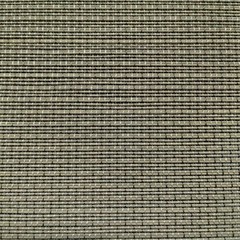
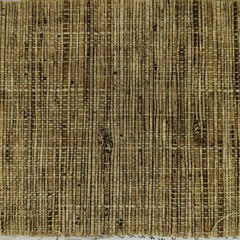
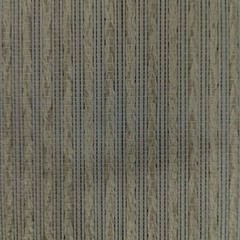
There are various types of blind fabrics available in the market, and choosing the right one for your large window is essential. Consider factors such as light control, privacy, and style. For instance, if you want to block out a significant amount of light, a blackout fabric might be the best choice. On the other hand, if you prefer a more decorative look with some light filtering, a sheer fabric could be ideal.
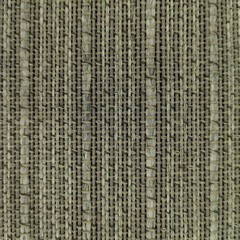
Our Tweed Roller Blind is a popular option for large windows. It offers a classic and stylish look while providing good light control and privacy. The tweed texture adds a touch of elegance to any room.
Step 3: Gather Your Tools
Before you start the installation process, gather all the necessary tools. You'll need a tape measure (which you've already used for measuring the window), a drill, screws, a level, a pencil, and a utility knife. Make sure your drill bits are the appropriate size for the screws you'll be using.
Step 4: Prepare the Window Frame
If you're doing an inside - mount, clean the inside of the window frame thoroughly. Remove any dirt, dust, or debris. This will ensure a smooth surface for mounting the blind brackets. If you're going for an outside - mount, clean the area above the window where the brackets will be attached.
Step 5: Install the Brackets
Using a level, mark the position of the brackets on the window frame. For a large window, it's recommended to use at least three brackets to provide adequate support. Make sure the brackets are level and evenly spaced.
Once you've marked the positions, drill pilot holes into the window frame. Then, attach the brackets using the screws. Tighten the screws firmly, but be careful not to overtighten and damage the window frame.
Step 6: Attach the Blind Tube
Most roll - up blinds come with a tube that holds the fabric. Slide the blind tube into the brackets. Make sure it fits securely and rotates smoothly. If the tube is too long, you may need to cut it to the appropriate length using a saw.
Step 7: Roll Out the Blind Fabric
Carefully unroll the Roll Of Blind Fabric and attach it to the blind tube. Some fabrics come with pre - attached hooks or Velcro strips for easy attachment. If not, you can use glue or small nails to secure the fabric to the tube. Make sure the fabric is straight and evenly aligned on the tube.
Step 8: Test the Blind
Once the fabric is attached, test the blind by rolling it up and down. Check if it moves smoothly and if the fabric is properly aligned. If there are any issues, such as the fabric not rolling evenly or getting stuck, make the necessary adjustments.
Step 9: Add Optional Features
If you want to enhance the functionality of your blind, you can add optional features such as a cord lock or a motorized system. A cord lock allows you to adjust the position of the blind and keep it in place. A motorized system provides a more convenient way to operate the blind, especially for large windows that are difficult to reach.
Step 10: Finishing Touches
After the installation is complete, trim any excess fabric using a utility knife. Make sure the edges are clean and neat. You can also add a valance or a decorative trim to give the blind a more finished look.
Tips for a Successful Installation
- Read the manufacturer's instructions carefully before starting the installation. Different types of blinds may have specific installation requirements.
- If you're unsure about any step of the installation process, don't hesitate to seek professional help.
- When handling the blind fabric, be careful not to crease or damage it.
- Make sure to use the right type of screws and brackets for your window frame material. For example, if you have a wooden window frame, use wood screws.
Why Choose Our Roll Of Blind Fabric
As a supplier of Roll Of Blind Fabric, we offer a wide range of high - quality fabrics to meet your needs. Our fabrics are made from durable materials that are designed to last. We also provide a variety of colors and patterns to match any decor style.
In addition to our standard blind fabrics, we also offer Roll Of Curtain Lining Fabric. This lining fabric can be used in combination with the blind fabric to enhance light control and privacy.
If you're interested in purchasing our Roll Of Blind Fabric or have any questions about the installation process, we'd love to hear from you. Whether you're a homeowner looking to upgrade your windows or a business owner in need of window coverings for your commercial space, we can provide you with the right solutions. Contact us today to start a discussion about your specific requirements.
References
- "Window Treatments: A Complete Guide" by Sarah Thompson
- "DIY Window Blinds Installation" by Home Improvement Magazine